Sunday, February 19, 2012

Wedding favors

I just wanted to share with you some Wedding favors that I did up for a friend who's getting married in March. I used my Tie the Knot Cricut cartridge and made these adorable Bride and Groom boxes.


I used the same color pink for the back of the dress and the tuxedo handkerchiefs as in the Invitations that I made earlier for the Wedding.


I put the front of the box through the Cuttlebug with the Floral Fantasy folder. I just love the way they turned out.


Then I added some pink and crystal bling along the top and some pink ribbon around the waist to close it.


 For the tuxedo I kept the white shirt smooth and added 3 black brads down the front for buttons.


I did a total of 86, 43 of each. The dress is cut at 10" and the tux's at 9 1/2". She is planning to fill them with Hershey Kisses. I am so glad that she loves them, cause I do too.

Saturday, February 18, 2012

Crafty Capers' Open House....YAY !!!

Today I went to one of favorite scrapbooking stores called Crafty Capers. They were having an open house and Victoria (the owner) had a great sale on JustRite stamps along with all her embossing folders so I just couldn't resist treating myself. Heeheheheee

She had platters of goodies and a FREE make and take.
So I had to indulge in both.... this is my card that I got to make and take for free.


She had all the parts ready for everyone to assemble. We got to emboss the flower in white and  then color it in with pencil crayons. I stamped a sentiment and there you have it. I loved her choice of paper and Flower stamp.


What a nice simple card to make, Thanks Victoria :)

Can't wait to see the new arrivals coming. There are 2 new companies arriving soon to the store:
Memorybox and Poppystamps. You can check out Victoria's blog or her Facebook page to see when they will be in.

Happy crafting!

Monday, February 13, 2012

¡feliz cumpleaƱos!

Here is a birthday card that I recently made for a woman that I work with.

She speaks Spanish so I thought that it would be nice to make the main sentiment in Spanish. "¡feliz cumpleaƱos!" (Happy Birthday)


I used my printer to make the sentiment and used my Spellbinders Die to cut the ovals. Then took some white cardstock and put it through the Cuttlebug with the Traffic Jam folder. Finally added some ribbon and used my Fiskars Halloween stamp set for the Calavera (skull).

The pictures aren't very good but that's because I used the camera on my phone. Sorry!

Sunday, February 12, 2012

A Peek at some of my Craft Storage

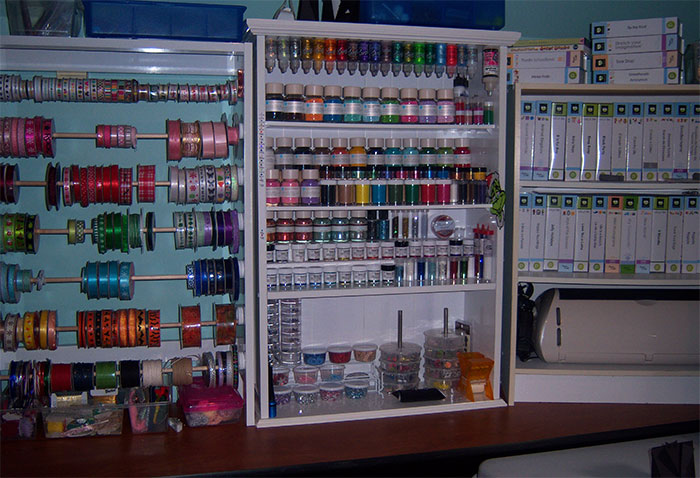
Here is a little peek into my craft storage.

For a while I took over all the space downstairs in the kitchen, on the  dining table, anywhere there was a surface, to do my crafting. Then one day I decided I was taking over half my bedroom and setting up a craft area.

I went to Nanaimo ReStore (this store helps generate funds to support Habitat for Humanity's building program) and started looking. I picked up 2- 1 1/2' x 8' long tables and a folding table for $38.... what a great deal. If you live in the area, you should check it out.

So I set up the tables and started putting up all my storage. Everything has a place and is categorized.

I got this Space Saver Over the toilet Storage Shelf at Walmart for $20, it was the display model. It worked out perfectly!!!


The bottom part was turned into my Ribbon rack. Some lids from empty embossing powders, some screws and pieces of dowel to make it. Of course, I have it separated by color, and when I need more room I can just turn it around and add more.


The top part I turned into my embellishment centre. At the top I took pieces of Velcro and stuck them to the bottom side of my Stickles bottles and hung them from the top. I also hung my Glossy Accents the same way. Under the Stickles are my Martha Stewart Microbeads.


As you can see in the picture above, for the second shelf I took pieces of a cereal box and made shelves to fit across. Then added my Martha Stewart and Stampendous Flocking Powders and my Pearl Ex Powdered Pigments.


The third shelf I took some Styrofoam I had lying around and made some tiers. I placed all my Glitter Ritz and various other glitters on this shelf.


The bottom shelf holds my Google eyes, Buttons and Brads and other various items.


I bought 6 and 8 compartment dividing containers and found some candle holders that I paid 50 cents for at JYSK. I took the top off the candle holder and slid them on, now I can just turn them and see what's in each.


Beside that is my Cricut Expression and all my Cartridges. I paid $10 for the shelf at a local Thrift shop. It was meant to be, they fit perfectly too!!!


I took an old computer desk on wheels and now it is my cut centre. I can move it to wherever I want it to be. On top, I have my paper trimmer, my Martha Stewart Self Healing Mat and an old mouse pad that I use for stamping. The pull out part holds my Martha Stewart paper trimmer, score board and another mini paper trimmer.


Underneath, in the cubby of the desk are my binders of embellishments and precut Cricut Paperdoll parts.


I took Hockey card holders and stuck all my embellishments (most of which are all from Michaels) and found a zip up binder to store them in.

I will give you a another look soon at some more of my craft storage solutions.

Til then happy crafting!!!

Wednesday, February 1, 2012

Wiggle Card Tutorial

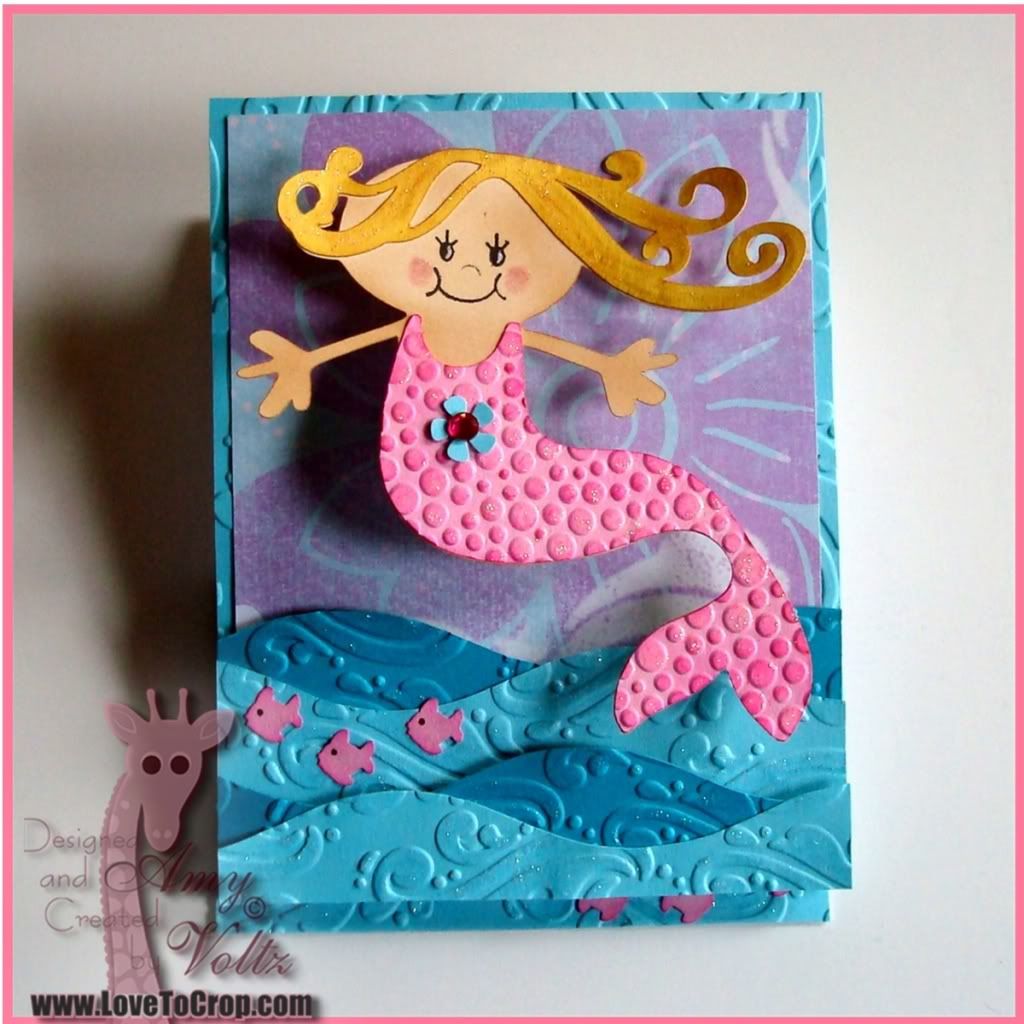
Check out this great tutorial on how to make your own wiggle wire, at Love To Crop.


You can try and make one and link it to her site.


Tuesday, January 31, 2012

Kick up your heels! ....60 th Birthday Card

This is a fun card that my mother made for her sister's birthday . She turned 60 in December but I just wanted to share this great card with you all.


The yellow base of the card was a precut 12" piece from the dollar store. She used Recollections shimmer cardstock for top and shoes and glitter paper for the skirt.

The Princess (aka my Auntie) is from Rock Princess,
I would have to say that this is my mother's favourite Cricut cartridge. The armchair is from Love You a Latte Cricut Lite cartridge.... I love the armchair and the way she put it through the Cuttlebug with the Divine Swirls folder.

The "Kick up your heels! " sentiment is from the Pink by Design Rock On stamp set . I like the little details that she added like her painted fingernails and the flower bling for a braclet.

Great job Mom !

Wednesday, January 25, 2012

Valentine's Day Layout

I've been busy reorganizing my craft room and saw these Heart shaped buttons in my stash and starting thinking what can I do with them....

So I made this Valentine's Day Layout.


I used my Pink Cat Studio - Lily and Billy Sweethearts  stamp set and coloured them with my Copics. The sentiment comes from Pink By Design's October SOTM - Friends to the end.  I stamped it onto a Spellbinders Label Die and then Embossed in black. The Happy Valentine's Day Stamp is a Martha Stewart stamp set.


I used Recollections Shimmer Red cardstock for the base and Making Memories - Heart Floral Love Struck cardstock for the background.


Then I added some Pink By Design Divine Twine in Cherry
and thread on the Heart shaped buttons that started this whole layout. A few sparkly heart shaped brads and voilĆ !


Monday, January 23, 2012

These Boots Are Made for Walking

Due to some recent schedule changes at work, my team has lost a member :(

With so many changes, she had to make a choice to stay in the line or to go casual. Unfortunately she had to give up her line and we are very sad to see her go. If we're lucky we will get to see her now and again.

So on her last day with the team, I made her this card. At first I wasn't sure what kind of card to make, so I started thumbing through my sentiment stamps and came along one of my Pink By Design sets.

It was perfect: "These boots are made for walking", from the Cowgirl Up Stamp set. I decided to emboss it with White Embossing Powder.


For the inside sentiment I choose "Hope you're back in the saddle real soon", also on the Cowgirl Up set. Hopefully we'll get to work with her soon.


Then I pulled out the Cricut and my 3 Birds on Parade cartridge and cut out some Cowboy Boots in 2 different sizes.

Out came the cuttle bug and I embossed the boots with the Mesh folder. A little Pink By Design Twine, some popdots and some bling.

Matching Envelope 

I decided to make a matching little envelope stamped with the boot image also from the Cowgirl Up set.

Thursday, January 19, 2012

More Sympathy Cards

Here are a couple of Sympathy cards that I made just recently for a friend. It's never easy losing someone but it is a part of life and doing the job I do it happens far too often.

That's why it is so important that you tell the people you love ... how much they mean to you. With that said for those near and dear to me and those afar I love and miss you all.


And here are some that were made digitally


Sunday, January 15, 2012

Happy New Year! 2012

Hope everyone had an amazing Christmas and New Year with family and friends.

I can't believe that it's 2012... time just goes by so fast these days. I've been working lots but thought that I'd post a few pictures.

So here's to a new year and a new start.